August 10, 2026 – August 16, 2026
Week of August 10
High summer cooking, built around sweetcorn, tomatoes and stone fruit while they are worth buying. Weekday dinners stay on one pan or one board, and the weekend takes its time over a risotto and a Sunday roast.
MondayAugust 10
 Breakfast
Corn and zucchini fritters with herbed yoghurt
20 min380 kcal
Corn and zucchini fritters with herbed yoghurt
Half the frying oil, egg whites in place of some of the whole egg, and cottage cheese whipped into the yoghurt to carry the protein.
Corn and Zucchini Fritters with Herbed Yoghurt
Sweetcorn and grated courgette bound with just enough batter to hold, fried crisp and eaten with a cold dill yoghurt.
Estimated per serving. These are approximations, not measured values, and should not be relied on for medical or dietary decisions.
Illustration generated from this recipe — not a photograph of the finished dish.
Ingredients
- ·1 corn on the cob, kernels cut from the cob
- ·1 zucchini, coarsely grated
- ·6 tbsp plain flour
- ·1 eggs
- ·2 spring onions, thinly sliced
- ·4 tbsp Greek yoghurt
- ·1 tbsp dill, fresh, chopped
- ·1 1/2 tbsp olive oil
- ·1/4 tsp baking powder
- ·salt, to taste
- ·black pepper, to taste
Method
- 1Toss the grated zucchini with a good pinch of salt, leave it in a sieve while you prepare everything else, then squeeze it dry in a clean tea towel.
- 2Stir the yoghurt with the dill, a little salt and pepper, and put it in the fridge so it is cold against the hot fritters.
- 3Whisk the eggs, then fold in the flour, baking powder, corn kernels, squeezed zucchini and spring onions until you have a thick, spoonable batter.
- 4Heat the oil in a wide frying pan over a medium heat until a drop of batter sizzles on contact.
- 5Drop heaped spoonfuls into the pan, flatten each one slightly, and fry until the underside is deep golden and the edges look set, about three minutes.
- 6Turn and fry the second side until it is the same colour, then drain briefly on kitchen paper and serve with the herbed yoghurt.
Adapted from Umami Girl, How Sweet Eats.
 Lunch
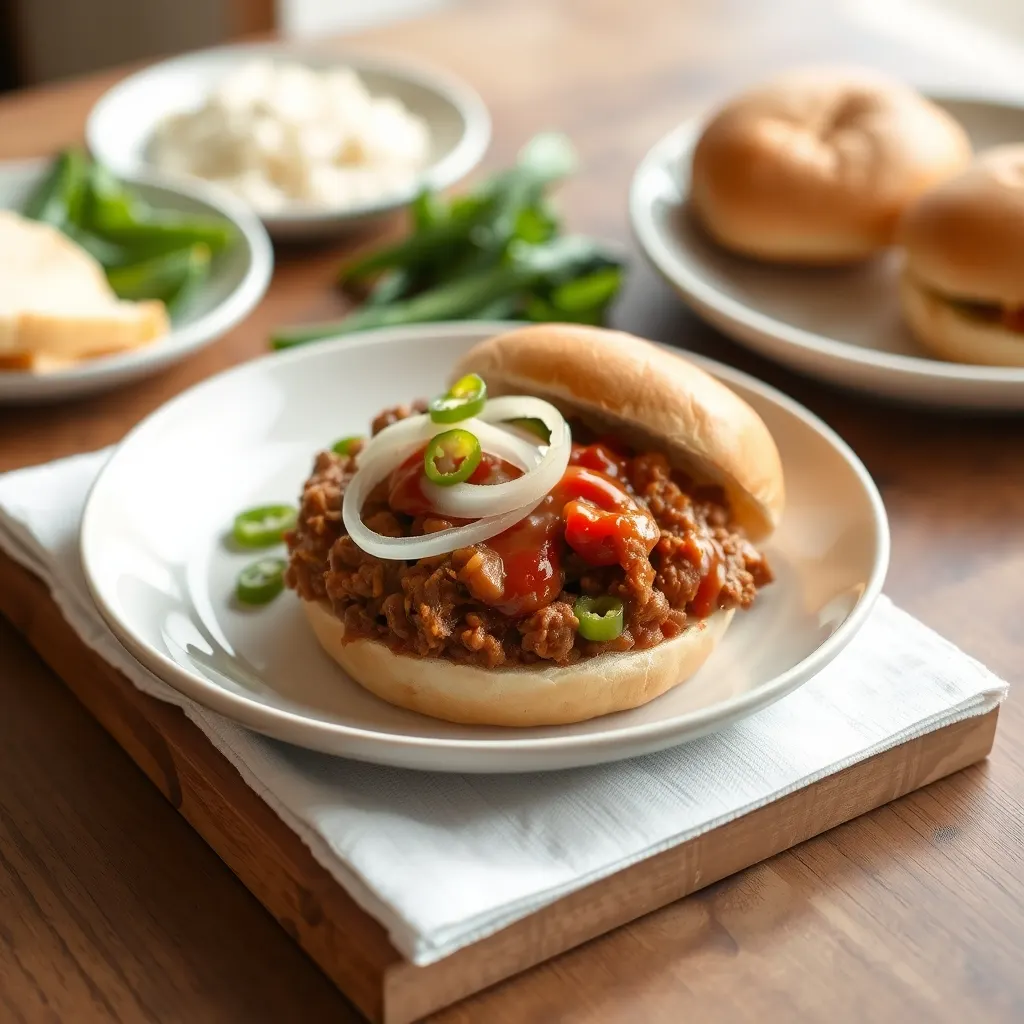
LunchSloppy joes
30 min520 kcal
Sloppy joes
Ground chicken instead of beef, grated carrot bulking out the sauce, and wholemeal buns under a lightly sweetened mix.
Skillet Sloppy Joes
Beef simmered down with tomato, mustard and a little brown sugar until it is thick enough to sit on a soft bun without running.
Estimated per serving. These are approximations, not measured values, and should not be relied on for medical or dietary decisions.
Illustration generated from this recipe — not a photograph of the finished dish.
Ingredients
- ·1/2 lb ground beef
- ·1 onion, finely chopped
- ·1 green bell pepper, finely chopped
- ·4 tbsp tomato ketchup
- ·1 tbsp tomato paste
- ·1/2 tbsp Worcestershire sauce
- ·1/2 tbsp brown sugar
- ·1 tsp yellow mustard
- ·2 burger buns
- ·1/2 tbsp olive oil
- ·salt, to taste
- ·black pepper, to taste
Method
- 1Warm the oil in a wide skillet and soften the onion and bell pepper over a medium heat until they have lost their raw edge, about six minutes.
- 2Add the beef and break it up against the pan, cooking until no pink remains and the bottom of the pan has started to brown.
- 3Stir in the tomato paste and let it darken for a minute, which takes the tinny taste out of it.
- 4Add the ketchup, Worcestershire sauce, mustard, brown sugar and a splash of water, then season.
- 5Simmer uncovered, stirring now and then, until the sauce clings to the meat and a spoon leaves a clear trail, about twelve minutes.
- 6Toast the cut sides of the buns in a dry pan and spoon the mixture on while everything is still hot.
Adapted from The Wholesome Dish, Natasha's Kitchen.
 Dinner
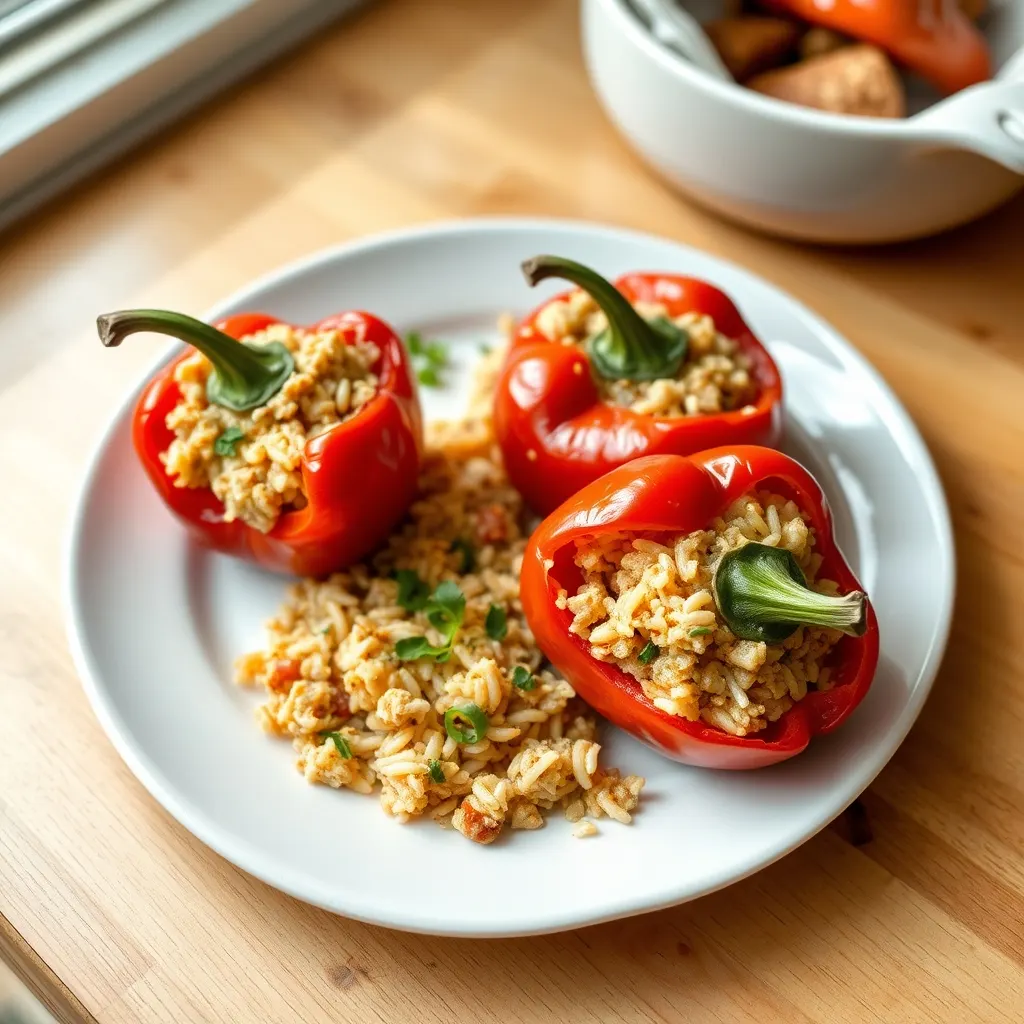
Stuffed peppers with turkey and rice
60 min520 kcal
Stuffed peppers with turkey and rice
Ground turkey breast in place of regular ground turkey, brown rice for white, and half the melted cheese on top.
Turkey and Rice Stuffed Peppers
Peppers roasted until they slump, filled with tomatoey turkey and rice and finished under a blistered cap of mozzarella.
Estimated per serving. These are approximations, not measured values, and should not be relied on for medical or dietary decisions.
Illustration generated from this recipe — not a photograph of the finished dish.
Ingredients
- ·2 red bell peppers, halved lengthways, seeded
- ·1/2 lb ground turkey
- ·8 tbsp long-grain rice
- ·1 onion, finely chopped
- ·2 garlic cloves, minced
- ·7 oz tinned tomatoes, chopped
- ·2 oz mozzarella, grated
- ·1 tbsp olive oil
- ·1/2 tsp dried oregano
- ·1/4 tsp smoked paprika
- ·salt, to taste
- ·black pepper, to taste
Method
- 1Heat the oven to 400F. Rub the pepper halves with some of the oil, sit them cut side up in a roasting dish and roast for fifteen minutes to soften.
- 2Meanwhile cook the rice in salted water until just tender, then drain it well so the filling does not turn wet.
- 3Fry the onion in the remaining oil until translucent, add the garlic, oregano and paprika and cook until fragrant, about a minute.
- 4Add the turkey and cook, breaking it up, until it has lost its raw colour, then pour in the tomatoes and simmer until thick, about ten minutes.
- 5Fold the drained rice through the sauce and season it firmly, tasting now while you still can.
- 6Spoon the filling into the softened peppers, scatter the mozzarella over and bake until the cheese is bubbling and patched with brown, about twenty minutes.
Adapted from Life is but a Dish, The Seasoned Mom.
TuesdayAugust 11
 Breakfast
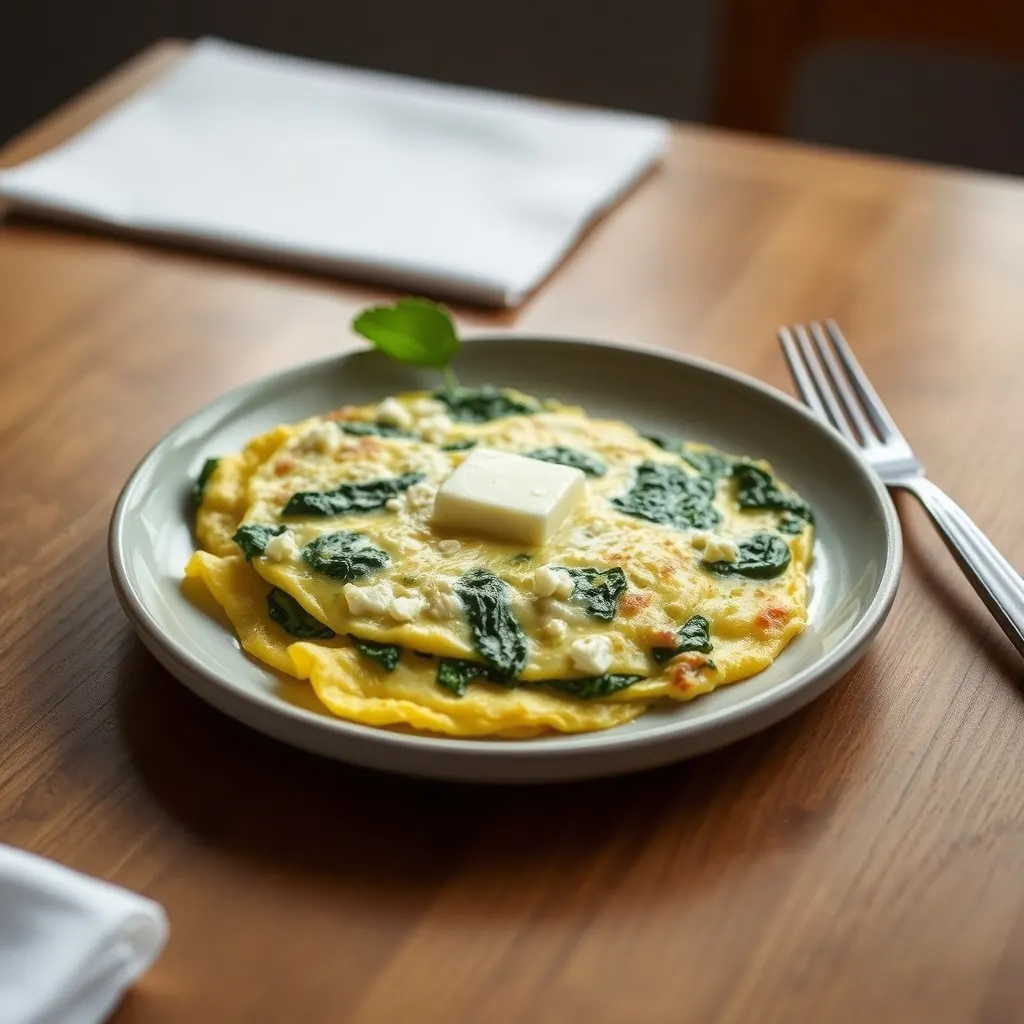
Spinach and feta omelette
12 min420 kcal
Spinach and feta omelette
Egg whites stand in for half the whole eggs, the butter becomes a wipe of oil, and reduced-fat feta keeps the salty edge.
Spinach and Feta Omelette
A soft folded omelette with wilted spinach and crumbled feta through the middle. On the table before the coffee has cooled.
Estimated per serving. These are approximations, not measured values, and should not be relied on for medical or dietary decisions.
Illustration generated from this recipe — not a photograph of the finished dish.
Ingredients
- ·4 eggs
- ·4 oz spinach, fresh
- ·2 oz feta, crumbled
- ·1 tbsp butter
- ·2 tbsp milk
- ·1 spring onions, thinly sliced
- ·salt, to taste
- ·black pepper, to taste
Method
- 1Wilt the spinach in a dry pan over a high heat until it has collapsed, then tip it into a sieve and press out the water.
- 2Beat the eggs with the milk and a little salt and pepper until the whites and yolks are fully combined and slightly frothy.
- 3Melt the butter in a non-stick pan over a medium-low heat until it foams but does not colour.
- 4Pour in the egg and, as it sets at the edges, drag it towards the middle and tilt the pan so the loose egg runs into the gaps.
- 5When the surface is still glossy but no longer liquid, scatter the spinach, feta and spring onion over half of the surface.
- 6Fold the bare half over the filling, slide it onto a plate, and let it sit for a moment so the middle finishes cooking.
Adapted from The Mom 100, Sugar Free Londoner.
 Lunch
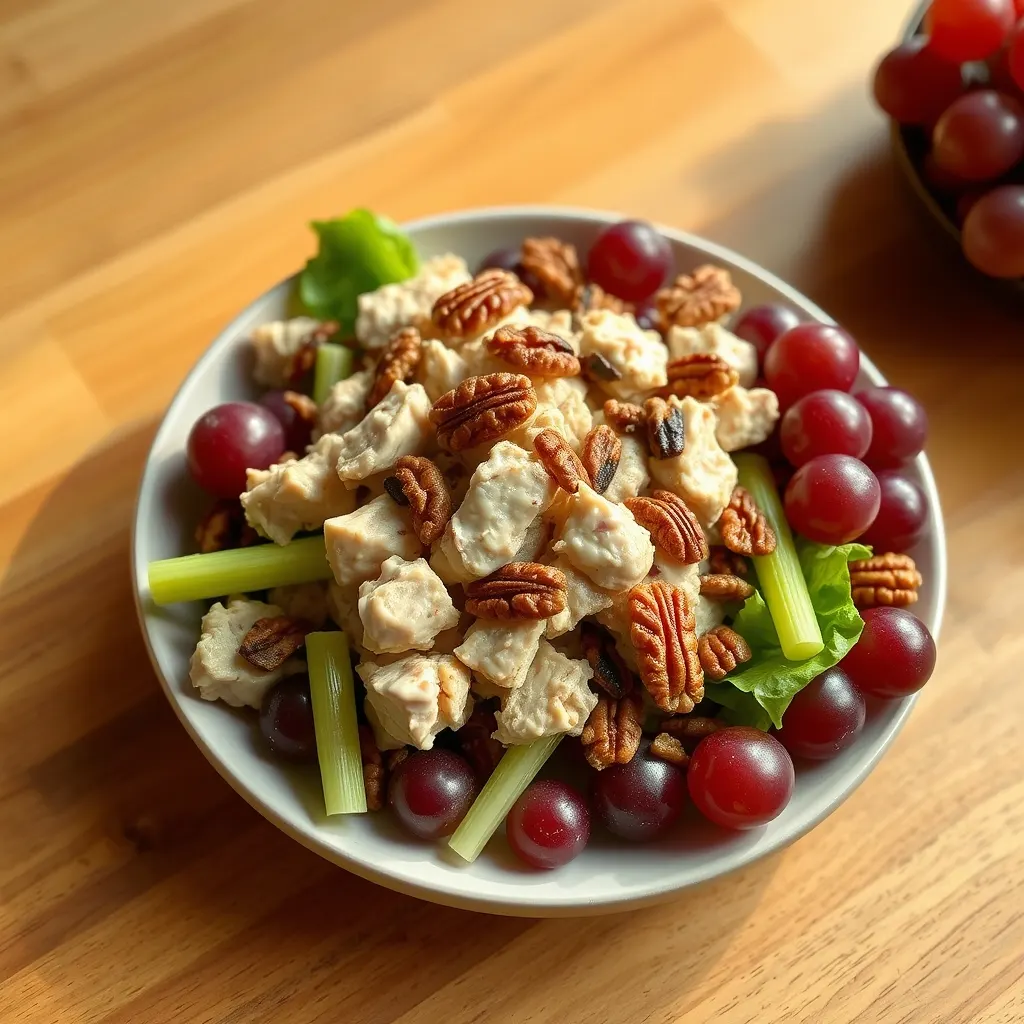
LunchChicken salad with grapes and celery
30 min480 kcal
Chicken salad with grapes and celery
Most of the mayonnaise gives way to Greek yoghurt and the pecans come out, so the dressing carries protein rather than fat.
Chicken Salad with Grapes, Celery and Pecans
Poached chicken pulled into strands and bound in a lemony mayonnaise, with grapes and celery for crunch and sweetness.
Estimated per serving. These are approximations, not measured values, and should not be relied on for medical or dietary decisions.
Illustration generated from this recipe — not a photograph of the finished dish.
Ingredients
- ·1/2 lb chicken breasts
- ·8 tbsp red grapes, halved
- ·2 celery sticks, finely sliced
- ·4 tbsp mayonnaise
- ·3 tbsp pecans, toasted, roughly chopped
- ·1 tsp dijon mustard
- ·1/2 tbsp lemon juice
- ·1 spring onions, thinly sliced
- ·4 lettuce leaves
- ·salt, to taste
- ·black pepper, to taste
Method
- 1Sit the chicken in a pan, cover it with cold salted water, bring it to a bare simmer and cook until firm all the way through, about twelve minutes.
- 2Lift the chicken out and let it cool enough to handle, then pull it into rough strands with a pair of forks.
- 3Whisk the mayonnaise with the mustard, lemon juice, salt and pepper until it is loose enough to coat without gluing.
- 4Fold the chicken, grapes, celery, spring onion and pecans through the dressing, keeping the mixing light so the grapes stay whole.
- 5Taste and adjust the salt and lemon, then chill for twenty minutes so the flavours settle.
- 6Spoon into lettuce leaves and eat cold.
Adapted from Add a Pinch, Amanda's Cookin'.
 DinnerJapanese
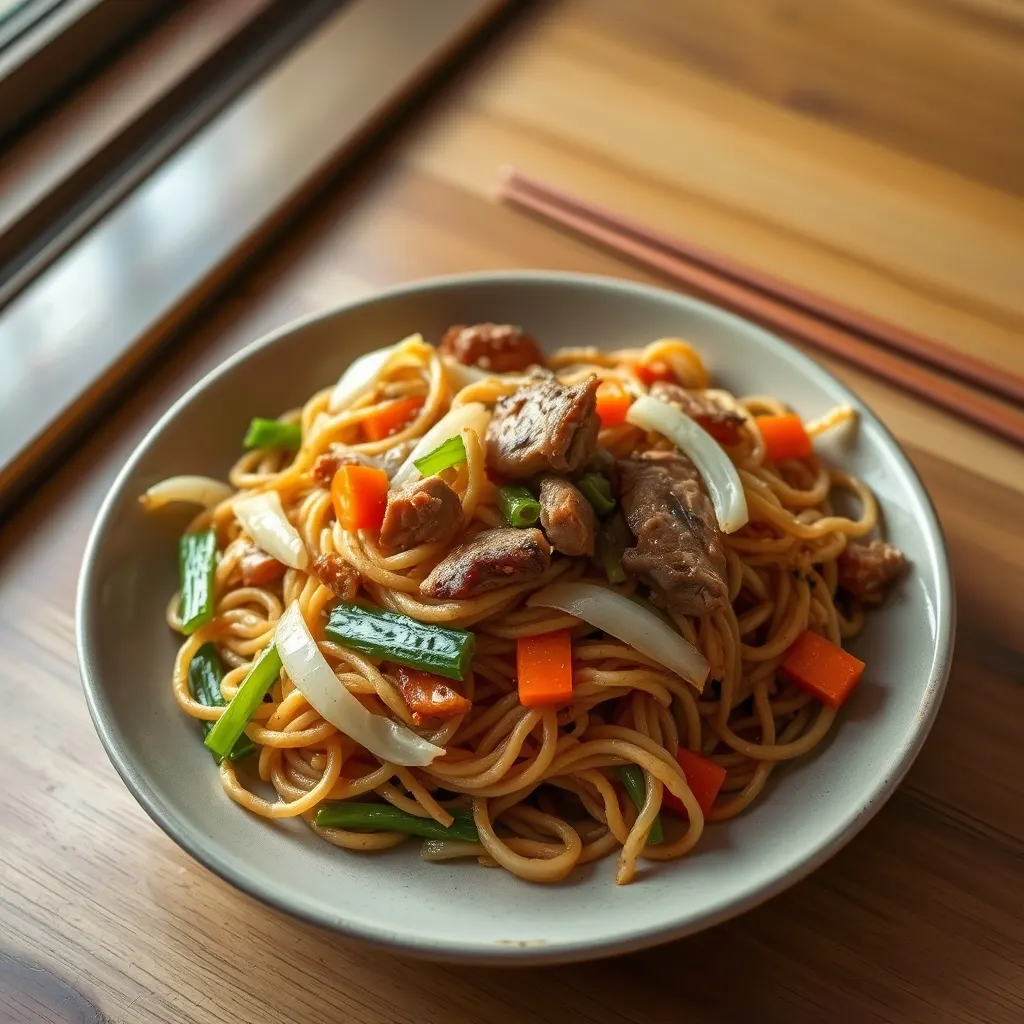
Yakisoba with pork and cabbage
27 min620 kcal
Yakisoba with pork and cabbage
Pork tenderloin replaces the fattier shoulder, the noodles are cut back, and cabbage fills the bowl in their place.
Pork and Cabbage Yakisoba
Noodles fried hard in a wide pan with pork and cabbage, coated in a sweet-savoury sauce built from store-cupboard bottles.
Estimated per serving. These are approximations, not measured values, and should not be relied on for medical or dietary decisions.
Illustration generated from this recipe — not a photograph of the finished dish.
Ingredients
- ·7 oz yakisoba noodles
- ·5 oz pork shoulder, cut into thin strips
- ·1 green cabbage, cut into rough squares
- ·1 carrots, cut into matchsticks
- ·1 onion, cut into thin wedges
- ·1 spring onions, cut on the diagonal
- ·1 1/2 tbsp Worcestershire sauce
- ·1 tbsp oyster sauce
- ·1/2 tbsp soy sauce
- ·1/2 tbsp tomato ketchup
- ·1/2 tsp caster sugar
- ·1/2 tbsp sesame oil
- ·1/2 tbsp vegetable oil
- ·black pepper, to taste
Method
- 1Stir the Worcestershire sauce, oyster sauce, soy sauce, ketchup and sugar together in a small bowl and keep it within reach of the pan.
- 2Loosen the noodles under warm running water so they separate cleanly, then drain them well.
- 3Get the vegetable oil smoking in a large frying pan and sear the pork strips in a single layer until browned at the edges.
- 4Add the onion and carrot and stir-fry until they start to soften, then add the cabbage and cook until it wilts but still has bite.
- 5Tip in the noodles, pour the sauce over and toss constantly until every strand is glossy and a little charred in places.
- 6Finish with the sesame oil, a good grind of pepper and the spring onions, and serve straight from the pan.
Adapted from Just One Cookbook, The Kitchn.
WednesdayAugust 12
 Breakfast
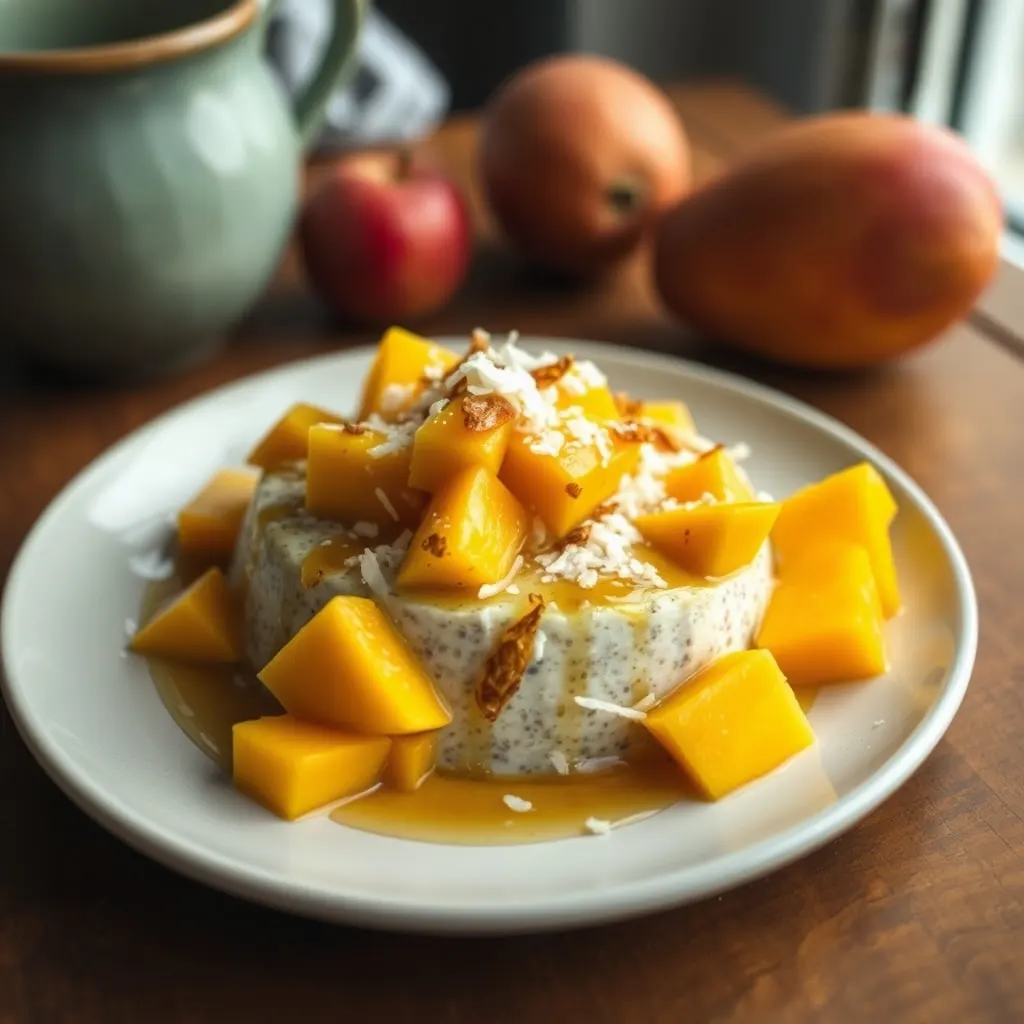
Mango chia pudding with toasted coconut
13 min380 kcal
Mango chia pudding with toasted coconut
Light coconut milk and a layer of Greek yoghurt replace most of the full-fat tin, and the syrup is halved.
Mango Chia Pudding with Toasted Coconut
Chia set overnight in coconut milk, spooned over ripe mango and finished with coconut toasted until it smells like biscuits.
Estimated per serving. These are approximations, not measured values, and should not be relied on for medical or dietary decisions.
Illustration generated from this recipe — not a photograph of the finished dish.
Ingredients
- ·4 tbsp chia seeds
- ·12 tbsp coconut milk
- ·1 mangoes, ripe, cut into cubes
- ·1 tbsp maple syrup
- ·1 1/2 tbsp desiccated coconut
- ·1/2 tsp vanilla extract
- ·1/2 tbsp lime juice
- ·salt, to taste
Method
- 1Whisk the coconut milk with the maple syrup, vanilla and salt until there are no lumps of coconut cream left.
- 2Stir in the chia seeds, wait five minutes, then stir again — that second stir is what stops them setting in a solid clump.
- 3Cover and refrigerate overnight, or for at least four hours, until the mixture holds the mark of a spoon.
- 4Toast the desiccated coconut in a dry pan over a medium heat, shaking often, until it is golden and fragrant, about two minutes.
- 5Toss the mango with the lime juice, which keeps it tasting fresh rather than flat.
- 6Spoon the pudding into glasses, top with the mango and scatter the toasted coconut over just before eating so it stays crisp.
Adapted from Skinnytaste, Downshiftology.
 Lunch
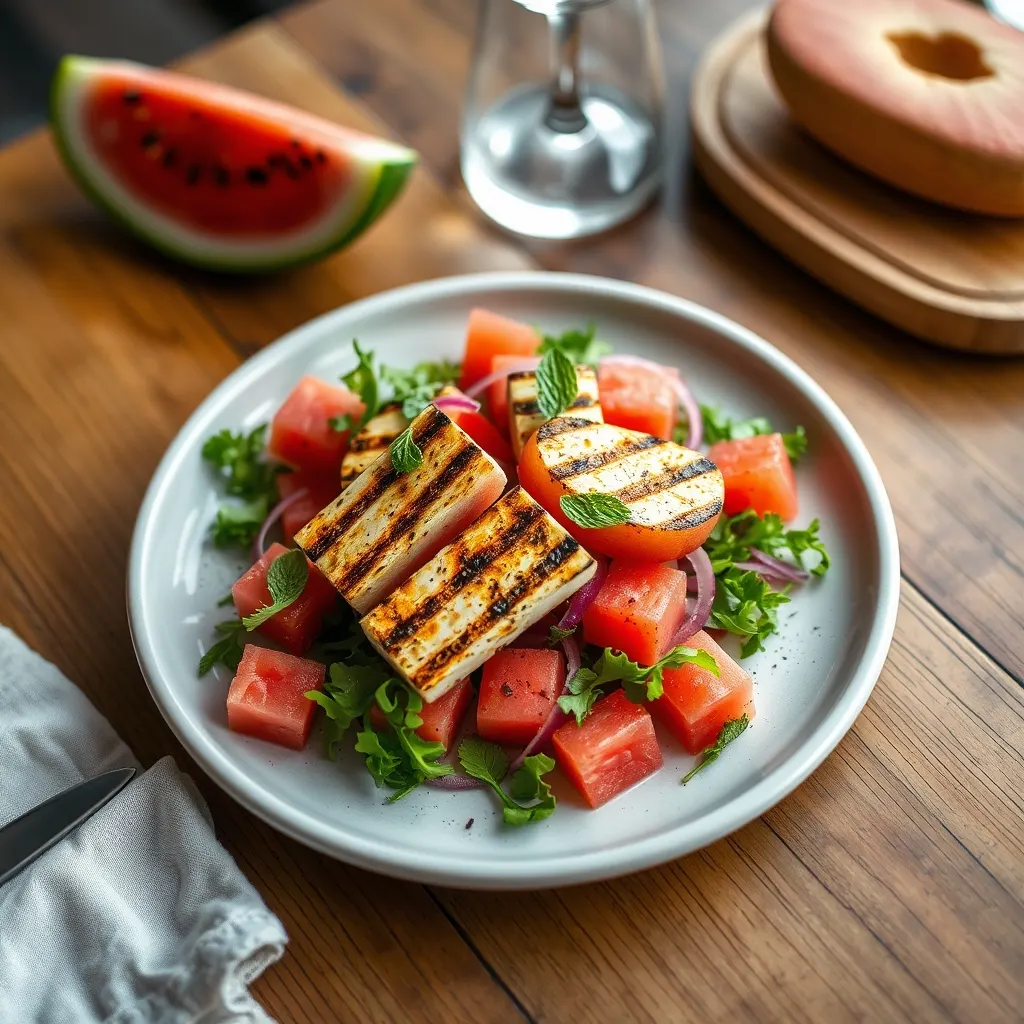
LunchGrilled halloumi and watermelon salad
18 min420 kcal
Grilled halloumi and watermelon salad
Half the halloumi, with chickpeas making up the difference so the plate still eats as a full lunch.
Grilled Halloumi and Watermelon Salad
Hot squeaky cheese against cold watermelon, with mint and lime cutting through. The best lunch of a hot week.
Estimated per serving. These are approximations, not measured values, and should not be relied on for medical or dietary decisions.
Illustration generated from this recipe — not a photograph of the finished dish.
Ingredients
- ·4 oz halloumi, cut into thick slabs
- ·2 cup watermelon, cut into cubes
- ·1 1/2 oz rocket
- ·1 red onion, very thinly sliced
- ·1 1/2 tbsp mint, fresh leaves, torn
- ·1 tbsp lime juice
- ·1 tbsp olive oil
- ·2 tbsp pistachios, roughly chopped
- ·black pepper, to taste
Method
- 1Soak the sliced red onion in cold water for ten minutes to take the harshness out, then drain it well.
- 2Pat the halloumi thoroughly dry, which is the difference between a golden crust and a grey one.
- 3Heat a griddle or heavy pan until very hot and cook the halloumi without moving it until dark bars appear, about two minutes a side.
- 4Whisk the lime juice with the olive oil and plenty of black pepper. The cheese is salty enough that the dressing needs none.
- 5Toss the watermelon, rocket, onion and mint with most of the dressing and spread it over a wide platter.
- 6Lay the hot halloumi over the top, spoon the last of the dressing on and scatter the pistachios.
Adapted from Little Spice Jar, Dishing Out Health.
 Dinner
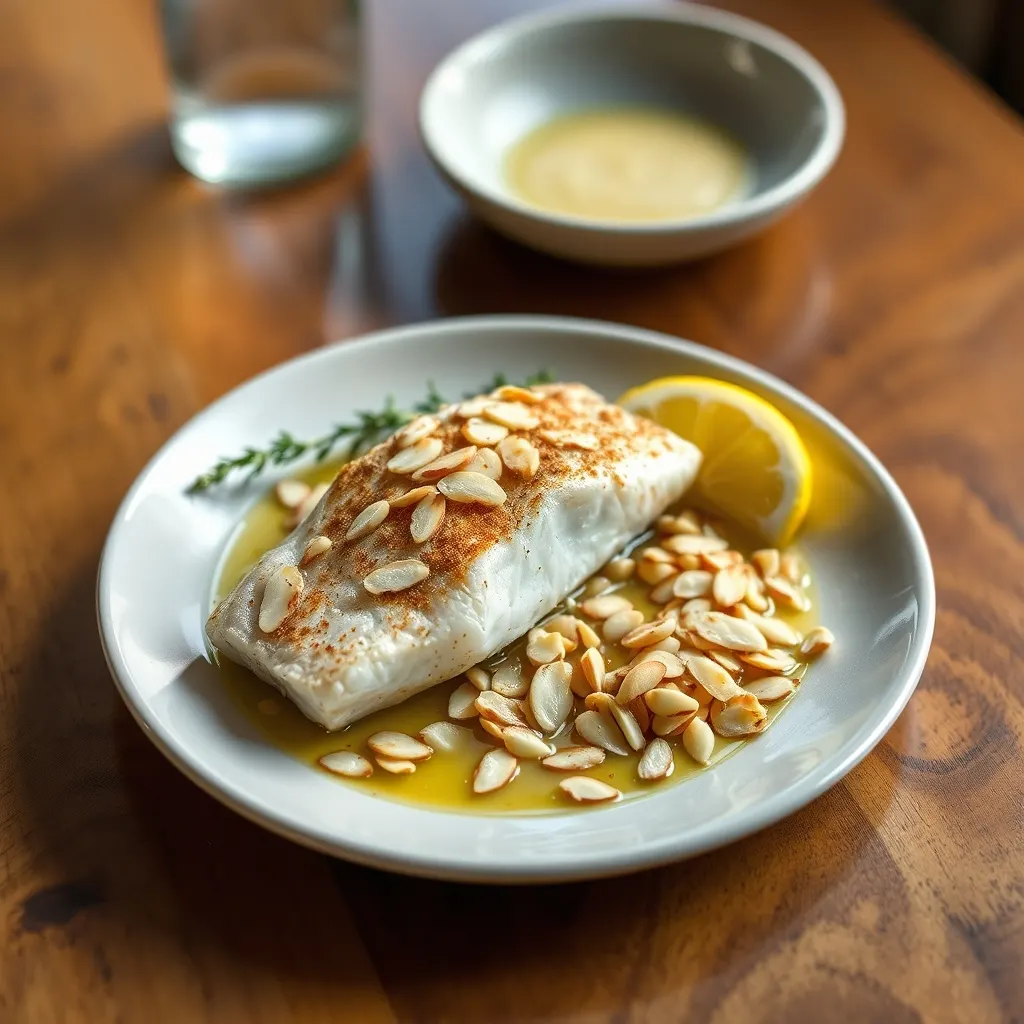
Pan-seared trout with lemon and almonds
20 min480 kcal
Pan-seared trout with lemon and almonds
Olive oil takes the place of most of the browned butter and the almonds are cut back, which halves the fat in the sauce.
Pan-Seared Trout with Brown Butter and Almonds
Crisp-skinned trout under a nutty butter sauce with lemon and flaked almonds. Twelve minutes from cold pan to plate.
Estimated per serving. These are approximations, not measured values, and should not be relied on for medical or dietary decisions.
Illustration generated from this recipe — not a photograph of the finished dish.
Ingredients
- ·2 trout fillets, skin on
- ·3 tbsp flaked almonds
- ·1 1/2 tbsp butter
- ·1 tbsp lemon juice
- ·1/2 tbsp olive oil
- ·6 oz green beans, trimmed
- ·1 tbsp parsley, fresh, chopped
- ·salt, to taste
- ·black pepper, to taste
Method
- 1Boil the green beans in well-salted water until they bend without snapping, about four minutes, then drain and keep them warm.
- 2Toast the flaked almonds in a dry pan until they are pale gold, then tip them straight out or they will keep colouring.
- 3Dry the trout skin thoroughly and season both sides. Wet skin steams instead of crisping.
- 4Heat the olive oil in a wide pan until it shimmers, lay the fillets in skin side down and press them flat for a few seconds.
- 5Cook without moving them until the skin releases easily and the flesh has turned opaque most of the way up, about four minutes, then turn briefly.
- 6Lift the fish out, drop the butter into the hot pan and swirl until it smells nutty and the milk solids are brown.
- 7Take the pan off the heat, add the lemon juice, almonds and parsley, and spoon the sauce over the trout and beans.
Adapted from A Beautiful Plate, Downshiftology.
ThursdayAugust 13
 Breakfast
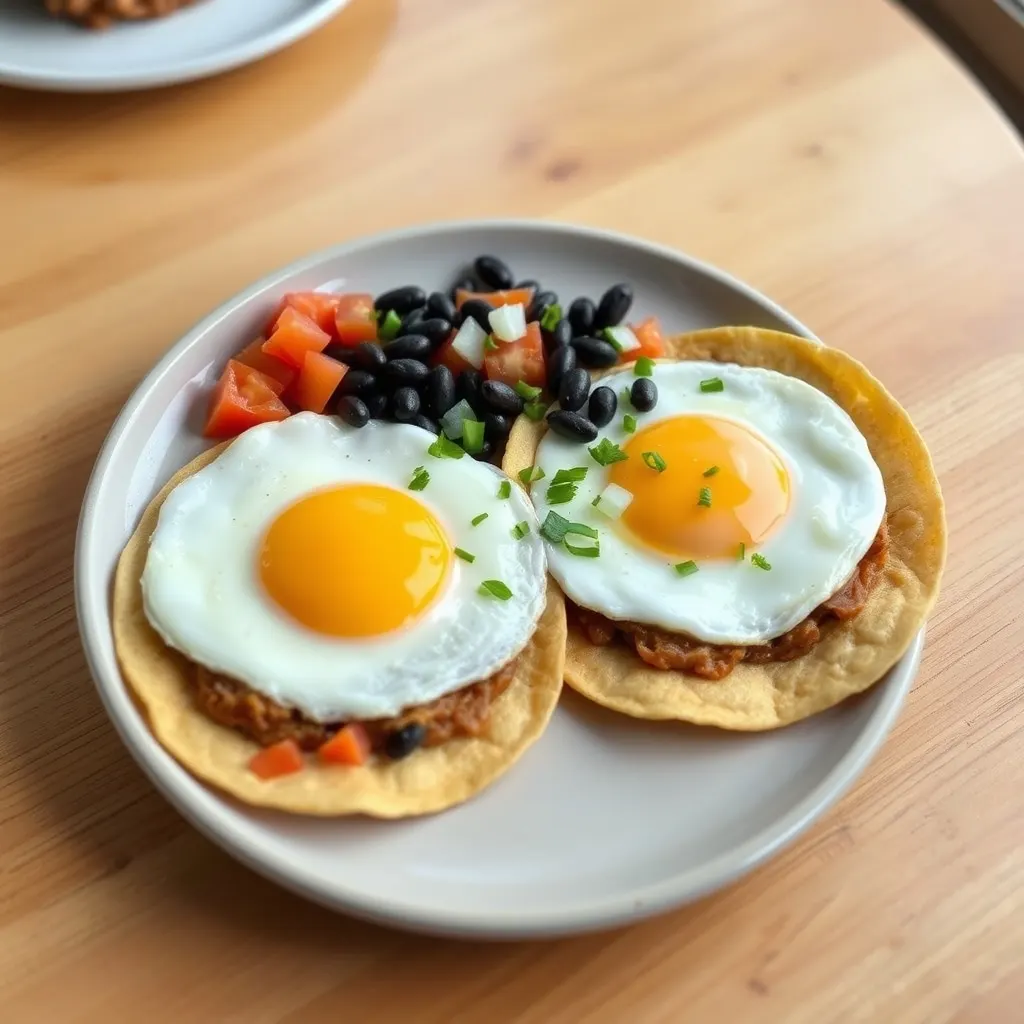
Huevos rancheros
20 min560 kcal
Huevos rancheros
Half the yolks become egg whites, the tortillas are warmed dry instead of fried, and the cheese is scattered rather than melted over.
Huevos Rancheros
Fried eggs on warm tortillas over black beans and a quick smoky tomato sauce. A breakfast that carries you to mid-afternoon.
Estimated per serving. These are approximations, not measured values, and should not be relied on for medical or dietary decisions.
Illustration generated from this recipe — not a photograph of the finished dish.
Ingredients
- ·4 eggs
- ·4 corn tortillas
- ·14 oz tinned tomatoes, chopped
- ·14 oz black beans, drained and rinsed
- ·1 onion, finely chopped
- ·1 jalapeno, finely chopped
- ·2 garlic cloves, minced
- ·2 oz cheddar, grated
- ·2 tbsp coriander, fresh leaves
- ·1 tbsp lime juice
- ·2 tbsp vegetable oil
- ·1 tsp ground cumin
- ·1/2 tsp smoked paprika
- ·salt, to taste
Method
- 1Soften the onion and jalapeno in half the oil until translucent, then add the garlic, cumin and paprika and cook until fragrant.
- 2Pour in the tomatoes, season, and simmer until the sauce has thickened and no longer tastes raw, about eight minutes.
- 3Warm the black beans through in a small pan with a splash of water and a pinch of salt, crushing a few against the side to thicken them.
- 4Fry the tortillas one at a time in the remaining oil for a few seconds a side, until they are pliable and blistered, then keep them warm.
- 5Fry the eggs in the same pan over a medium heat until the whites are set and the edges have gone lacy and brown.
- 6Stack tortillas with beans and sauce, slide the eggs on top, and finish with the cheddar, coriander and lime juice.
Adapted from The Kitchn, Love and Lemons.
 Lunch
LunchLoaded baked potato with broccoli and cheddar
70 min520 kcal
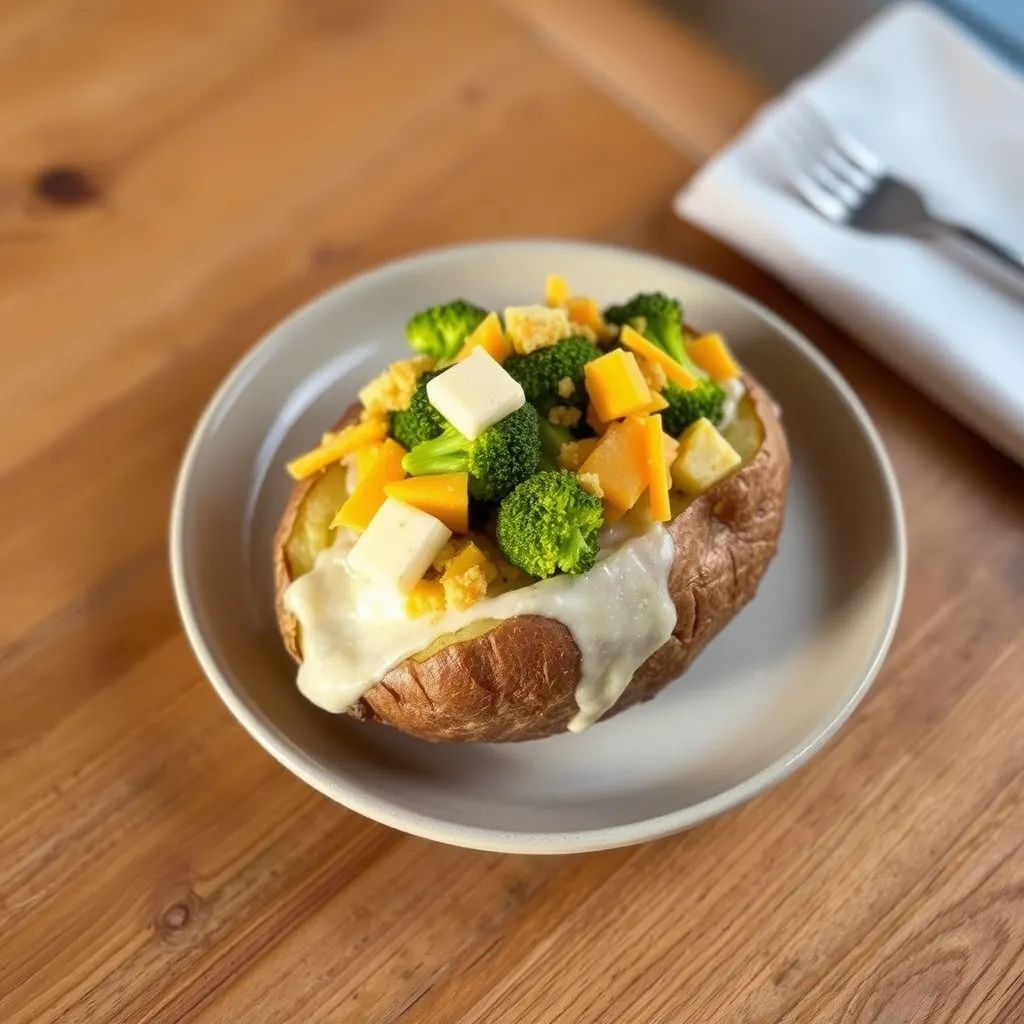
Loaded baked potato with broccoli and cheddar
Greek yoghurt replaces the butter in the potato, the cheddar is reduced-fat, and there is twice as much broccoli.
Loaded Baked Potato with Broccoli and Cheddar
A potato baked until the skin crackles, split open and filled with buttery flesh, steamed broccoli and melted cheddar.
Estimated per serving. These are approximations, not measured values, and should not be relied on for medical or dietary decisions.
Illustration generated from this recipe — not a photograph of the finished dish.
Ingredients
- ·2 baking potatoes
- ·1/2 lb broccoli, cut into small florets
- ·3 oz cheddar, grated
- ·1 1/2 tbsp butter
- ·2 tbsp milk
- ·1 spring onions, thinly sliced
- ·1/2 tsp olive oil
- ·salt, to taste
- ·black pepper, to taste
Method
- 1Heat the oven to 425F. Prick the potatoes all over, rub them with the oil and a generous amount of salt, and sit them directly on the shelf.
- 2Bake until a skewer slides through the middle with no resistance and the skin has gone papery, about an hour.
- 3Steam the broccoli until it is bright green and tender at the stem, about five minutes, then drain it well.
- 4Split each potato along the top, squeeze the ends to open it up and fork the butter and milk into the flesh without mashing it flat.
- 5Season the potato flesh, pile the broccoli in and cover with the cheddar.
- 6Return them to the oven for five minutes, until the cheese has melted into the broccoli, then finish with the spring onions.
Adapted from Budget Bytes, The Kitchn.
 Dinner
Meatloaf with mashed potatoes
80 min620 kcal
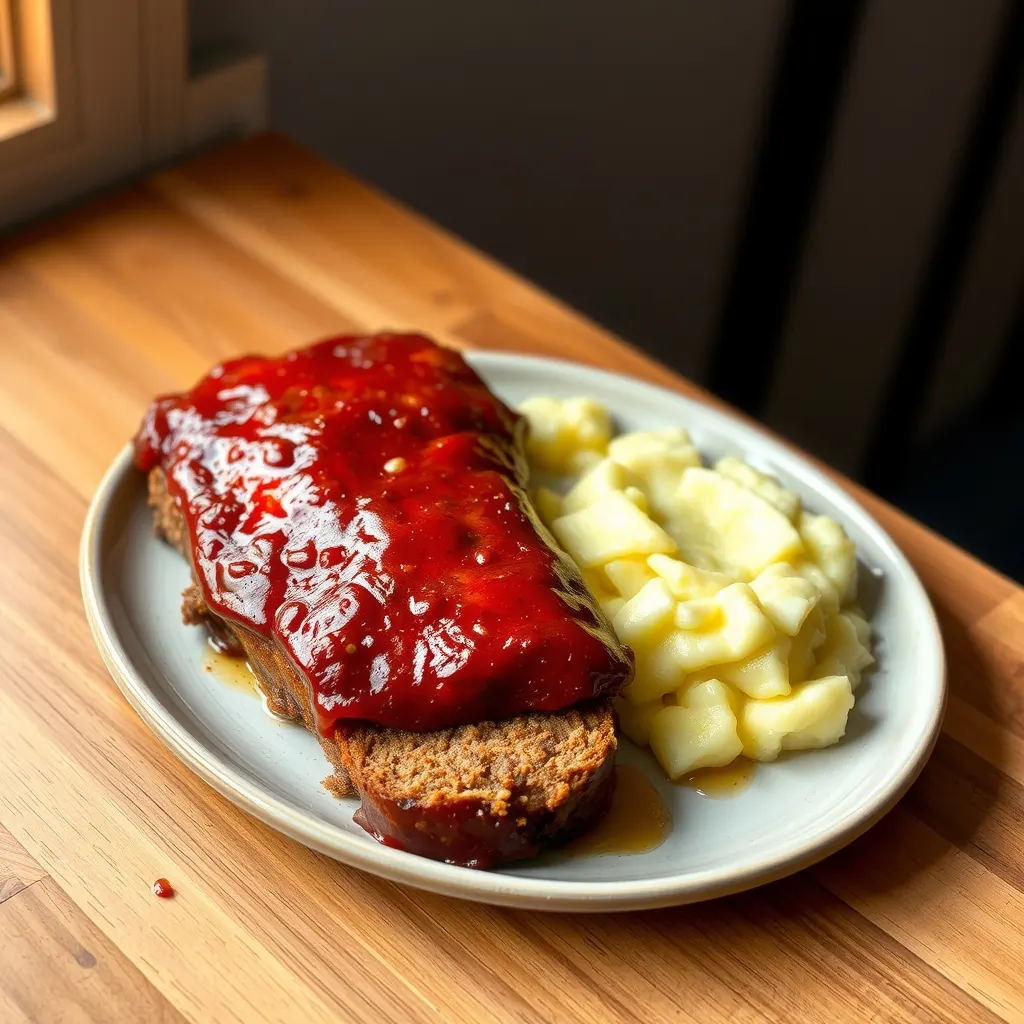
Meatloaf with mashed potatoes
Half the beef becomes ground turkey, rolled oats bind in place of breadcrumbs, and the mash is loosened with yoghurt rather than butter.
Glazed Meatloaf with Buttery Mash
A soft, well-seasoned loaf under a sticky ketchup glaze, with mash made properly wet with butter and milk.
Estimated per serving. These are approximations, not measured values, and should not be relied on for medical or dietary decisions.
Illustration generated from this recipe — not a photograph of the finished dish.
Ingredients
- ·1/2 lb ground beef
- ·4 tbsp breadcrumbs
- ·1 eggs
- ·1 onion, finely chopped
- ·1 garlic cloves, minced
- ·2 tbsp milk
- ·2 tbsp tomato ketchup
- ·2/3 tbsp brown sugar
- ·1/3 tbsp Worcestershire sauce
- ·2/3 lb potatoes, peeled, cut into chunks
- ·1 1/3 tbsp butter
- ·1/3 tbsp olive oil
- ·salt, to taste
- ·black pepper, to taste
Method
- 1Heat the oven to 375F and soften the onion in the oil until sweet and translucent, then add the garlic and let it cool.
- 2Soak the breadcrumbs in the milk for five minutes, until they have gone to a paste. This is what keeps the loaf tender.
- 3Mix the beef, soaked breadcrumbs, egg, cooled onion, Worcestershire sauce, salt and pepper with your hands, stopping the moment it comes together.
- 4Shape the mixture into a loaf on a lined tray rather than pressing it into a tin, so the sides brown as well as the top.
- 5Stir the ketchup with the brown sugar, brush half over the loaf and bake for forty minutes.
- 6Brush on the rest of the glaze and bake until it is lacquered and the middle reads 160F, about twenty minutes more, then rest it.
- 7Boil the potatoes in salted water until they fall apart on a knife, drain them thoroughly and mash with the butter and a splash of hot milk.
Adapted from Natasha's Kitchen, Little Sunny Kitchen.
FridayAugust 14
 Breakfast
Bircher muesli with nectarines and almonds
12 min420 kcal
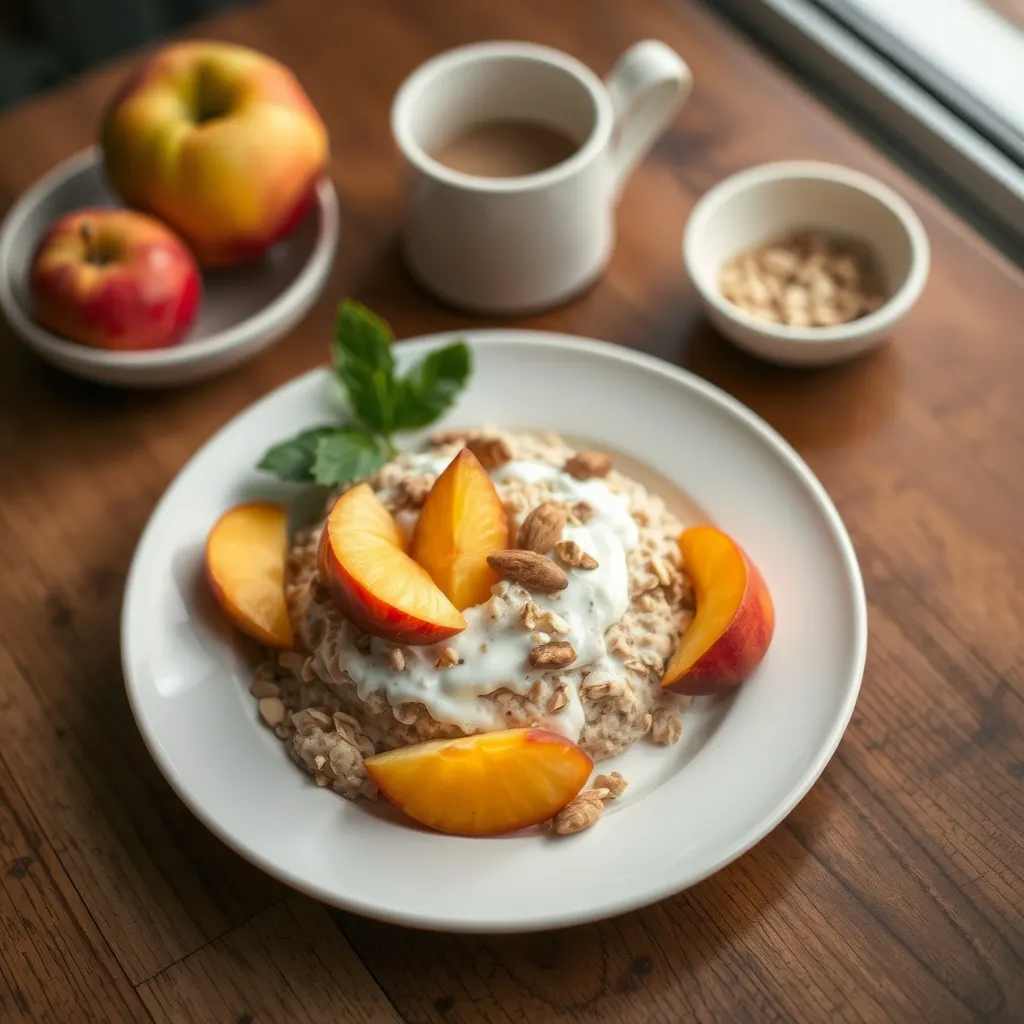
Bircher muesli with nectarines and almonds
More yoghurt and less honey, skimmed milk in place of whole, and the almonds scattered rather than stirred through.
Bircher Muesli with Nectarines and Almonds
Oats soaked overnight with grated apple until they are creamy without cooking, topped with ripe nectarine in the morning.
Estimated per serving. These are approximations, not measured values, and should not be relied on for medical or dietary decisions.
Illustration generated from this recipe — not a photograph of the finished dish.
Ingredients
- ·12 tbsp rolled oats
- ·12 tbsp milk
- ·8 tbsp Greek yoghurt
- ·1 apples, coarsely grated
- ·1 nectarines, ripe, cut into wedges
- ·2 tbsp flaked almonds
- ·1 tbsp honey
- ·1/2 tbsp lemon juice
- ·1/4 tsp ground cinnamon
- ·salt, to taste
Method
- 1Grate the apple straight into the lemon juice and toss it, which stops it browning overnight in the fridge.
- 2Stir the oats, milk, yoghurt, honey, cinnamon and a pinch of salt together with the apple until everything is evenly wet.
- 3Cover and refrigerate overnight, or for at least six hours, until the oats have swollen and the mixture is thick and creamy.
- 4Toast the flaked almonds in a dry pan until pale gold, then let them cool so they stay crisp.
- 5Loosen the soaked oats with a splash of milk if they have set too firm, since they always tighten as they sit.
- 6Spoon into bowls, lay the nectarine wedges over and scatter the almonds on last.
Adapted from Chelsea's Messy Apron, Walder Wellness.
 Lunch
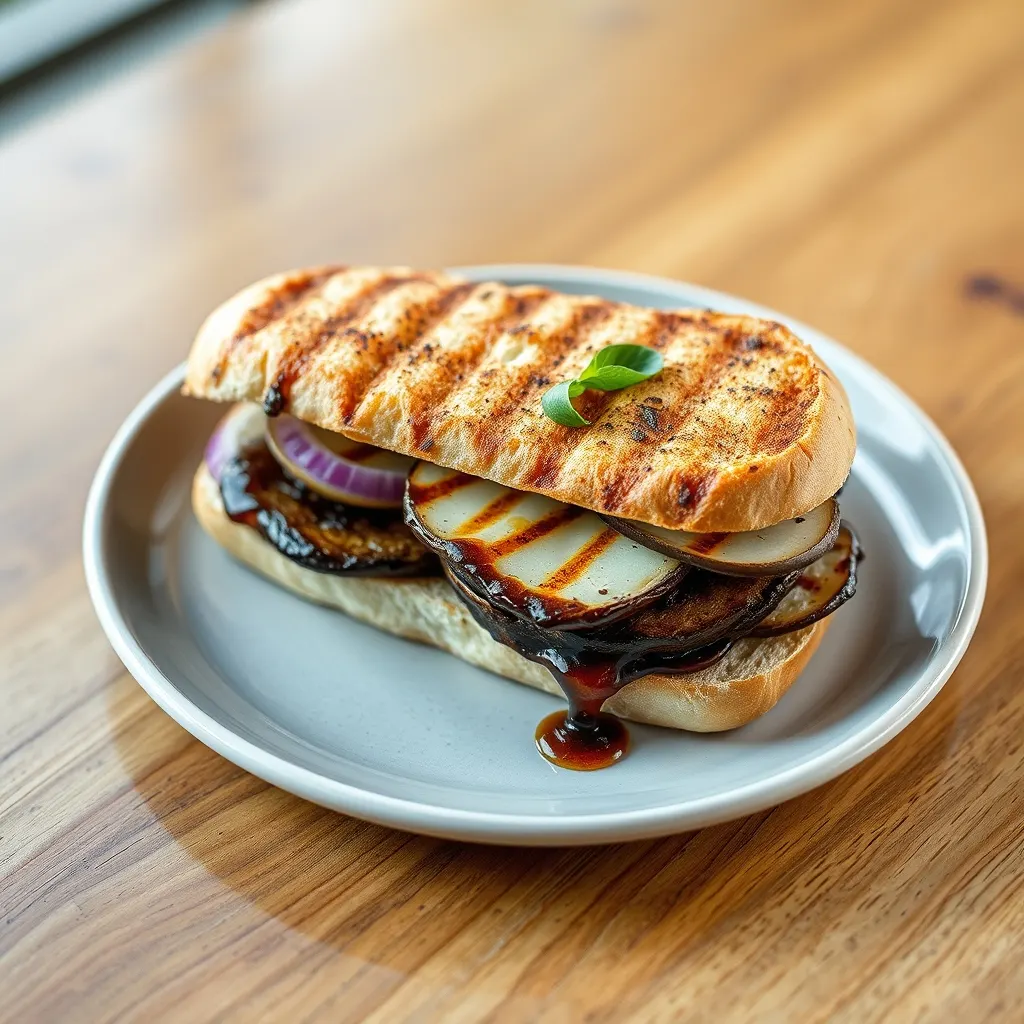
LunchGrilled portobello and provolone sandwich
27 min520 kcal
Grilled portobello and provolone sandwich
A smashed cannellini spread replaces the mayonnaise, the rolls are wholemeal, and the cheese is thinner over more mushroom.
Grilled Portobello and Provolone Sandwich
Mushrooms marinated in balsamic and garlic, griddled until they give up their juice, then melted under provolone in a ciabatta roll.
Estimated per serving. These are approximations, not measured values, and should not be relied on for medical or dietary decisions.
Illustration generated from this recipe — not a photograph of the finished dish.
Ingredients
- ·2 portobello mushrooms, stems removed
- ·2 oz provolone, in slices
- ·2 ciabatta rolls
- ·1 red onion, cut into thin rings
- ·1 tbsp balsamic vinegar
- ·1 1/2 tbsp olive oil
- ·1 garlic cloves, minced
- ·1 tbsp mayonnaise
- ·1 1/2 tbsp basil, fresh leaves
- ·1 oz rocket
- ·salt, to taste
- ·black pepper, to taste
Method
- 1Whisk the balsamic vinegar, olive oil, garlic, salt and pepper together and turn the mushrooms in it, gill side up, for ten minutes.
- 2Heat a griddle pan until it is properly hot, so the mushrooms sear rather than stew in their own liquid.
- 3Grill the mushrooms gill side up first, until the caps have softened and dark bars have formed, about four minutes.
- 4Turn them, lay the provolone over and cook until the cheese has slumped into the gills and the mushrooms release their juice.
- 5Grill the onion rings alongside until they are limp and charred at the edges.
- 6Spread the cut rolls with mayonnaise, add rocket and basil, then the mushroom and onion, and press the lid down firmly before cutting.
Adapted from NeighborFood, Healthy Seasonal Recipes.
 Dinner
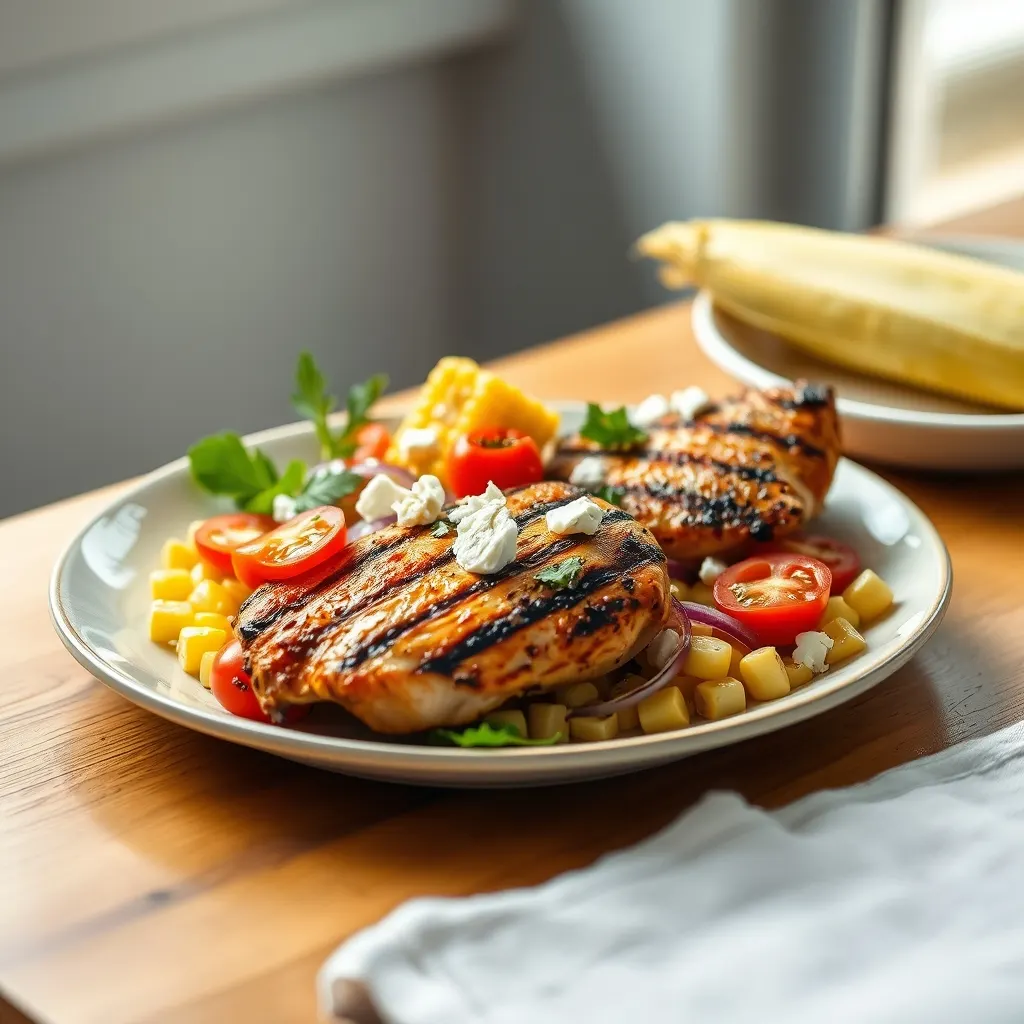
Grilled chicken thighs with corn and tomato salad
33 min620 kcal
Grilled chicken thighs with corn and tomato salad
Chicken breast replaces the thighs, the dressing oil is cut back, and the feta comes out of the salad.
Grilled Chicken Thighs with Corn and Tomato Salad
Paprika-rubbed thighs grilled until the edges catch, with a raw salad of charred corn, tomato and basil to cut the richness.
Estimated per serving. These are approximations, not measured values, and should not be relied on for medical or dietary decisions.
Illustration generated from this recipe — not a photograph of the finished dish.
Ingredients
- ·1 lb chicken thighs, boneless, skinless
- ·2 corn on the cob, kernels cut from the cob
- ·1/2 lb cherry tomatoes, halved
- ·1 red onion, very thinly sliced
- ·1 oz feta, crumbled
- ·1 1/2 tbsp basil, fresh leaves, torn
- ·1 tbsp lime juice
- ·1 1/2 tbsp olive oil
- ·1 garlic cloves, minced
- ·1/2 tsp smoked paprika
- ·salt, to taste
- ·black pepper, to taste
Method
- 1Rub the chicken with the paprika, garlic, some of the oil, salt and pepper and leave it while you prepare the salad.
- 2Char the corn kernels in a dry, very hot pan without stirring much, until they blister and pop, then tip them into a bowl to cool.
- 3Soak the sliced red onion in cold water for ten minutes and drain it, which softens the bite.
- 4Grill the chicken over a high heat until it lifts cleanly from the bars and is well marked, about seven minutes, then turn.
- 5Cook until the juices run clear and the thickest part reads 165F, then rest it on a warm plate.
- 6Toss the corn, tomatoes, onion, basil, lime juice and remaining oil, season, and scatter the feta over just before serving with the chicken.
Adapted from A Simple Palate, Love and Lemons.
SaturdayAugust 15
 Breakfast
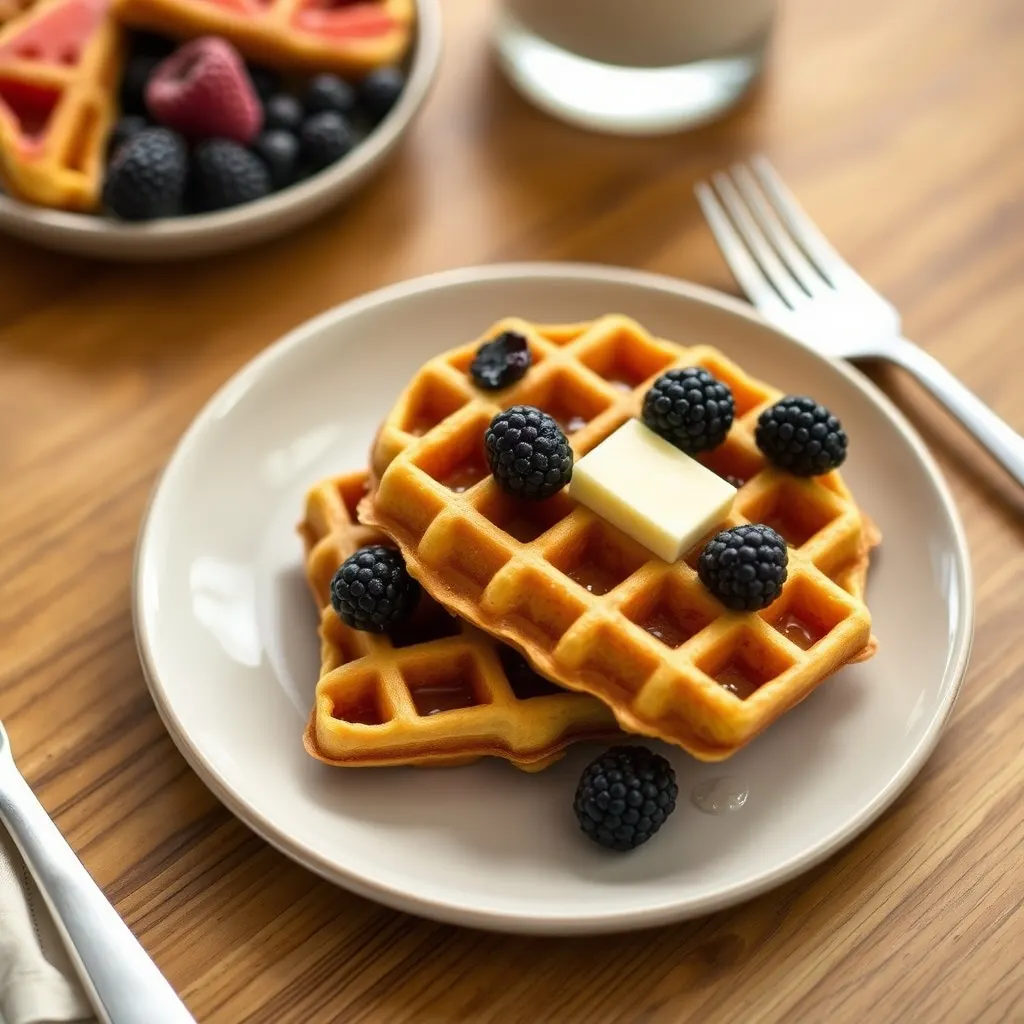
Cornmeal waffles with blackberries
27 min560 kcal
Cornmeal waffles with blackberries
Greek yoghurt and skimmed milk carry the batter instead of most of the butter, and egg whites lighten it further.
Cornmeal Waffles with Blackberries
Cornmeal gives these waffles a sandy crunch that holds up under syrup, and the blackberries keep them from tasting only sweet.
Estimated per serving. These are approximations, not measured values, and should not be relied on for medical or dietary decisions.
Illustration generated from this recipe — not a photograph of the finished dish.
Ingredients
- ·8 tbsp cornmeal
- ·8 tbsp plain flour
- ·1 eggs
- ·12 tbsp milk
- ·2 tbsp butter, melted and cooled
- ·1 tsp baking powder
- ·1 tbsp caster sugar
- ·1 cup blackberries
- ·2 tbsp maple syrup
- ·salt, to taste
Method
- 1Heat the waffle iron thoroughly before you mix anything, because a batter with cornmeal in it stiffens as it stands.
- 2Whisk the cornmeal, flour, baking powder, sugar and a good pinch of salt together in a large bowl.
- 3Beat the eggs into the milk and butter, then pour the wet into the dry and stir only until the flour disappears — lumps are fine.
- 4Let the batter rest for five minutes so the cornmeal softens and stops tasting gritty.
- 5Ladle batter into the hot iron and cook until the steam has died down and the waffles are deep gold and crisp, about four minutes.
- 6Crush some of the blackberries with a fork and leave the rest whole, then pile them on and pour the maple syrup over.
Adapted from Food Network, Two Peas and Their Pod.
 Lunch
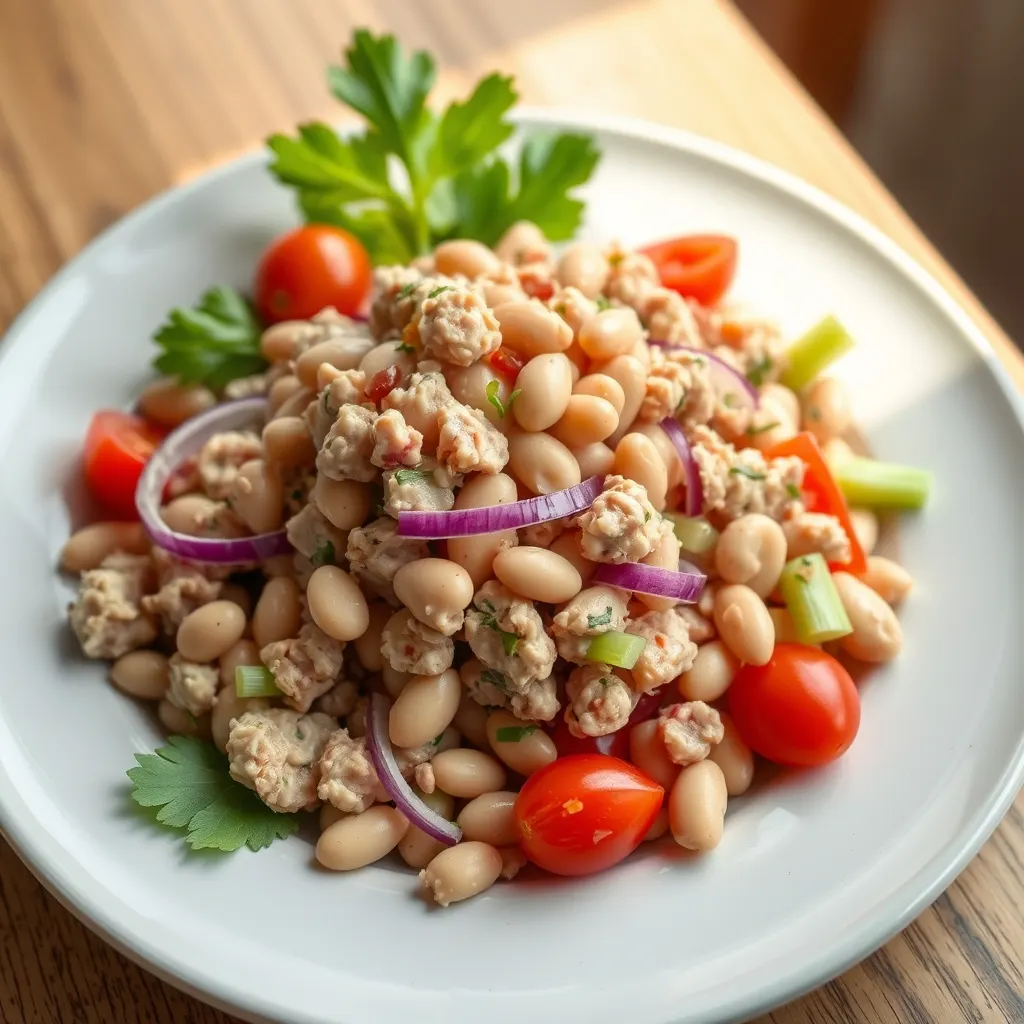
LunchTuna and white bean salad
15 min400 kcal
Tuna and white bean salad
More tuna and less oil in the dressing, with lemon and capers making up the flavour the oil used to carry.
Tuna and White Bean Salad
A store-cupboard lunch that tastes deliberate: tuna, cannellini and celery bound in a sharp lemon dressing, no cooking at all.
Estimated per serving. These are approximations, not measured values, and should not be relied on for medical or dietary decisions.
Illustration generated from this recipe — not a photograph of the finished dish.
Ingredients
- ·5 oz tinned tuna, drained
- ·7 oz cannellini beans, drained and rinsed
- ·1 red onion, very thinly sliced
- ·1 celery sticks, finely sliced
- ·4 oz cherry tomatoes, halved
- ·1 1/2 oz rocket
- ·1 1/2 tbsp parsley, fresh, chopped
- ·1 tbsp lemon juice
- ·1 1/2 tbsp olive oil
- ·1/2 tbsp capers, rinsed
- ·salt, to taste
- ·black pepper, to taste
Method
- 1Soak the sliced red onion in cold water for ten minutes, then drain it, so it stays crisp without overpowering the tuna.
- 2Whisk the lemon juice, olive oil, salt and pepper into a dressing that tastes slightly too sharp on its own.
- 3Tip the beans into the dressing first and leave them for five minutes, since they take on flavour better than anything else here.
- 4Fold in the tuna in large flakes, along with the celery, tomatoes, onion, capers and parsley, keeping the pieces intact.
- 5Taste and correct the lemon and salt, then fold the rocket through at the very last moment so it does not wilt.
Adapted from The Mediterranean Dish, Love and Lemons.
 DinnerItalian
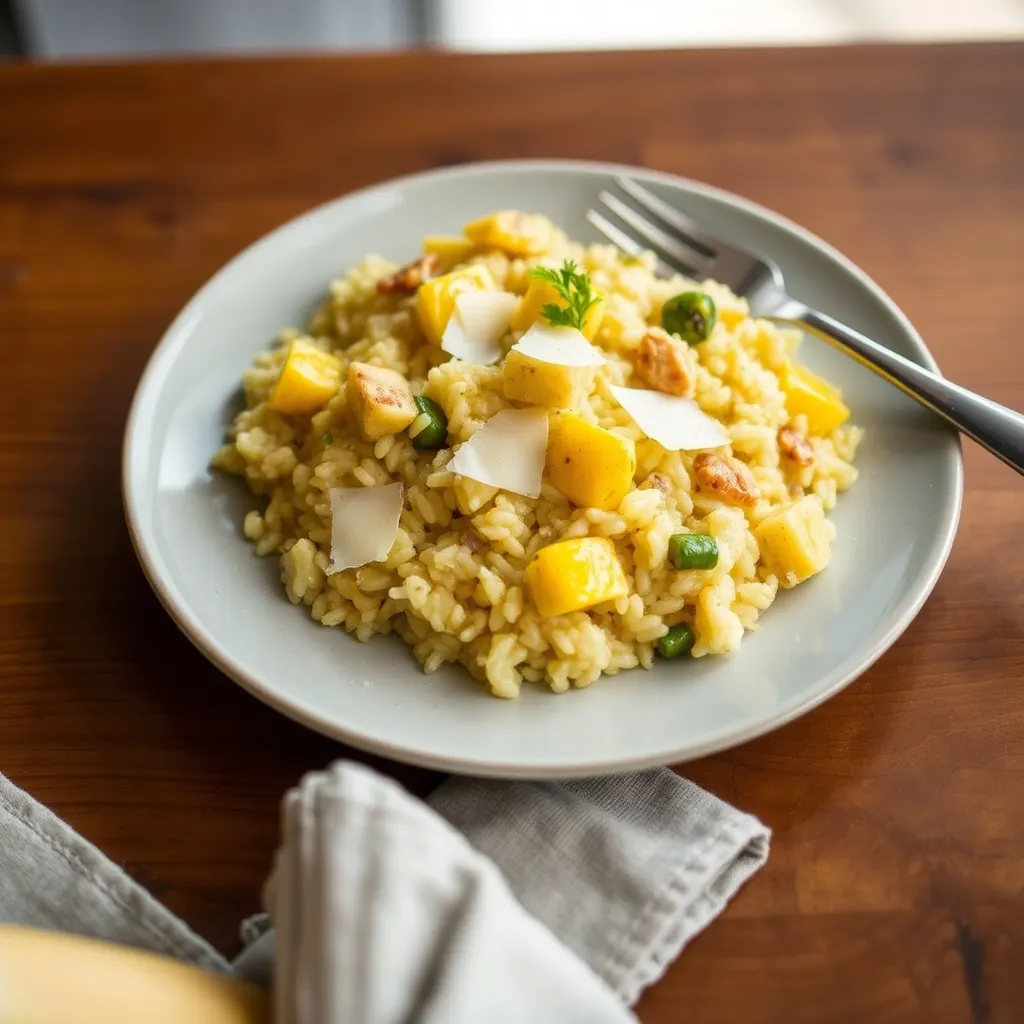
Summer squash risotto with parmesan
47 min580 kcal
Summer squash risotto with parmesan
Less rice and butter with peas folded in near the end, so the bowl stays as full while the fat comes down.
Summer Squash Risotto with Parmesan
Yellow squash cooked down until it almost melts into the rice, finished with butter and parmesan for a Saturday worth standing over.
Estimated per serving. These are approximations, not measured values, and should not be relied on for medical or dietary decisions.
Illustration generated from this recipe — not a photograph of the finished dish.
Ingredients
- ·12 tbsp arborio rice
- ·1/2 lb yellow squash, cut into small dice
- ·1 1/2 oz parmesan, grated
- ·1 1/2 tbsp butter
- ·1 onion, finely chopped
- ·1 garlic cloves, minced
- ·4 tbsp dry white wine
- ·2 1/2 cup vegetable stock
- ·1/2 tbsp olive oil
- ·1 1/2 tbsp basil, fresh leaves, torn
- ·1/2 tbsp lemon juice
- ·salt, to taste
- ·black pepper, to taste
Method
- 1Bring the stock to a bare simmer in a pan beside the risotto and keep it there — cold stock stalls the rice every time.
- 2Soften the onion in the oil and a knob of the butter over a low heat until translucent but not coloured, about eight minutes.
- 3Add half the squash and the garlic and cook until the squash has slumped and started to break down.
- 4Stir in the rice and toast it for a minute, until the grains look glassy at the edges, then pour in the wine and let it evaporate.
- 5Add the hot stock a ladle at a time, stirring often and waiting until each addition has almost gone before adding the next.
- 6After about fifteen minutes stir in the remaining squash, so some of it keeps its shape against the melted rest.
- 7When the rice is tender with the barest resistance in the middle, beat in the remaining butter, the parmesan and the lemon juice off the heat.
- 8Cover and rest for two minutes, then loosen with a splash of stock, season and finish with the basil.
Adapted from The Kitchn, Simply Delicious.
SundayAugust 16
 Breakfast
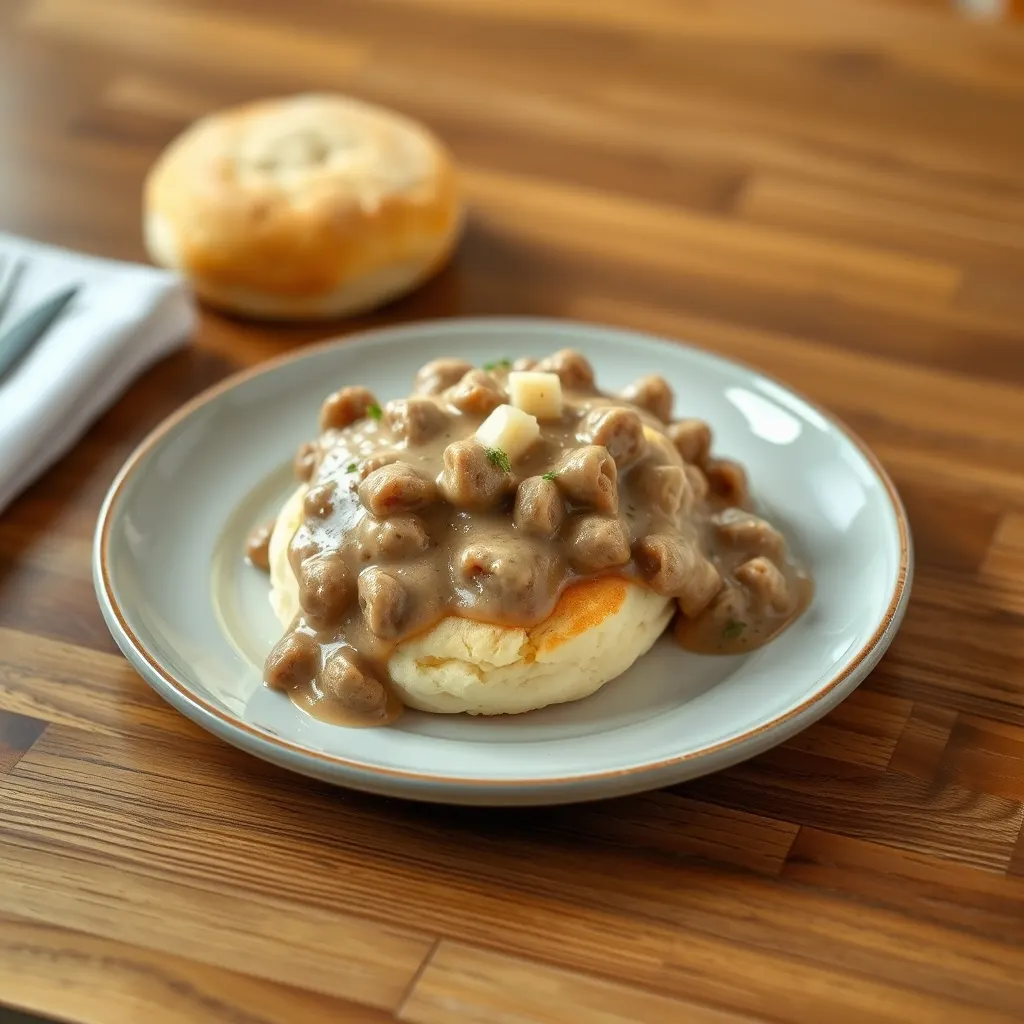
Sausage gravy over biscuits
45 min640 kcal
Sausage gravy over biscuits
Turkey sausage meat and skimmed milk build the gravy, and the biscuits are made with a fraction of the butter.
Sausage Gravy over Buttermilk Biscuits
Peppery sausage gravy poured over split biscuits, which is the one Sunday breakfast that genuinely rewards making it from scratch.
Estimated per serving. These are approximations, not measured values, and should not be relied on for medical or dietary decisions.
Illustration generated from this recipe — not a photograph of the finished dish.
Ingredients
- ·1/3 lb pork sausage meat
- ·11 tbsp plain flour, for the biscuits
- ·2 tbsp plain flour, for the gravy
- ·2 tbsp butter, for the biscuits, very cold
- ·2/3 tbsp butter, for the gravy
- ·4 tbsp buttermilk
- ·14 tbsp milk
- ·1/3 tbsp baking powder
- ·black pepper, to taste
- ·salt, to taste
Method
- 1Heat the oven to 450F. Rub the cold biscuit butter into the flour, baking powder and salt until it is in flakes the size of peas.
- 2Pour in the buttermilk and bring the dough together with as few strokes as possible, then pat it out and fold it over on itself twice.
- 3Cut the dough into rounds without twisting the cutter, which would seal the edges and stop them rising.
- 4Bake until risen and golden on top, about fourteen minutes, then leave them somewhere warm.
- 5Brown the sausage meat in a heavy pan over a medium-high heat, breaking it into coarse pieces and letting the bottom of the pan darken.
- 6Add the gravy butter, scatter the flour over the meat and cook it out for two minutes so the gravy will not taste pasty.
- 7Pour in the milk a little at a time, scraping the pan hard, and simmer until it thickens enough to coat a spoon.
- 8Season heavily with black pepper and salt, split the warm biscuits and ladle the gravy over.
Adapted from The Forked Spoon, Preppy Kitchen.
 Lunch
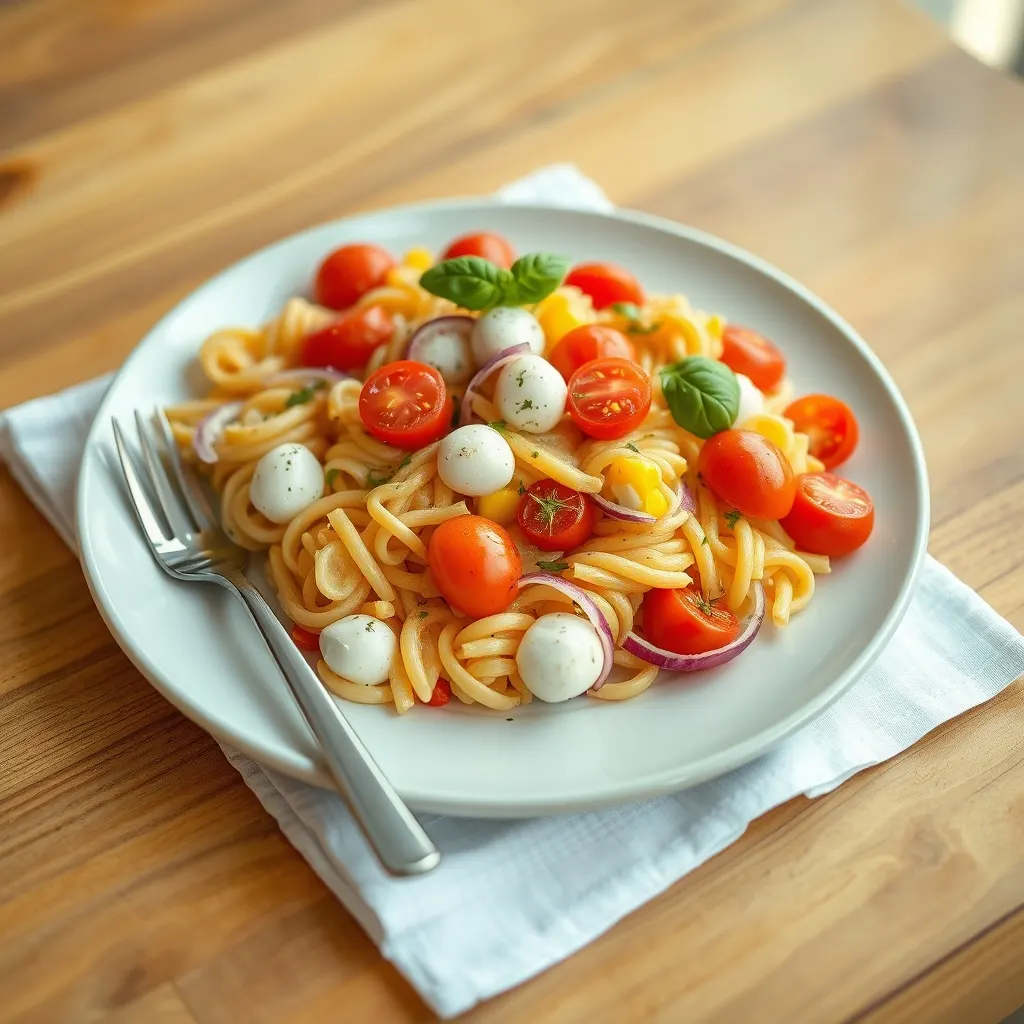
LunchCorn, tomato and basil pasta salad
30 min480 kcal
Corn, tomato and basil pasta salad
Wholewheat pasta and a tin of cannellini beans replace some of the mozzarella and half the dressing oil.
Corn, Tomato and Basil Pasta Salad
Charred sweetcorn and raw tomato tossed through pasta with torn basil and mozzarella. Better an hour after it is made.
Estimated per serving. These are approximations, not measured values, and should not be relied on for medical or dietary decisions.
Illustration generated from this recipe — not a photograph of the finished dish.
Ingredients
- ·4 oz fusilli
- ·1 corn on the cob, kernels cut from the cob
- ·1/3 lb cherry tomatoes, halved
- ·2 oz mozzarella, torn into pieces
- ·1 red onion, very thinly sliced
- ·2 tbsp basil, fresh leaves, torn
- ·1 tbsp olive oil
- ·2/3 tbsp red wine vinegar
- ·1 garlic cloves, minced
- ·salt, to taste
- ·black pepper, to taste
Method
- 1Cook the pasta in heavily salted water until just tender, then drain and rinse it under cold water so it stops cooking and stays separate.
- 2Char the corn kernels in a dry, very hot pan, leaving them alone between stirs until they blister and smell toasted.
- 3Soak the red onion in cold water for ten minutes and drain it, which takes away the raw bite without losing the crunch.
- 4Whisk the vinegar, garlic, olive oil, salt and pepper into a dressing and toss it through the cold pasta while it can still absorb it.
- 5Fold in the corn, tomatoes, onion and mozzarella, then taste again — cold pasta always needs more salt than you expect.
- 6Tear the basil through at the end and let the salad sit for half an hour before eating.
Adapted from Fine Foods Blog, Love and Lemons.
 Dinner
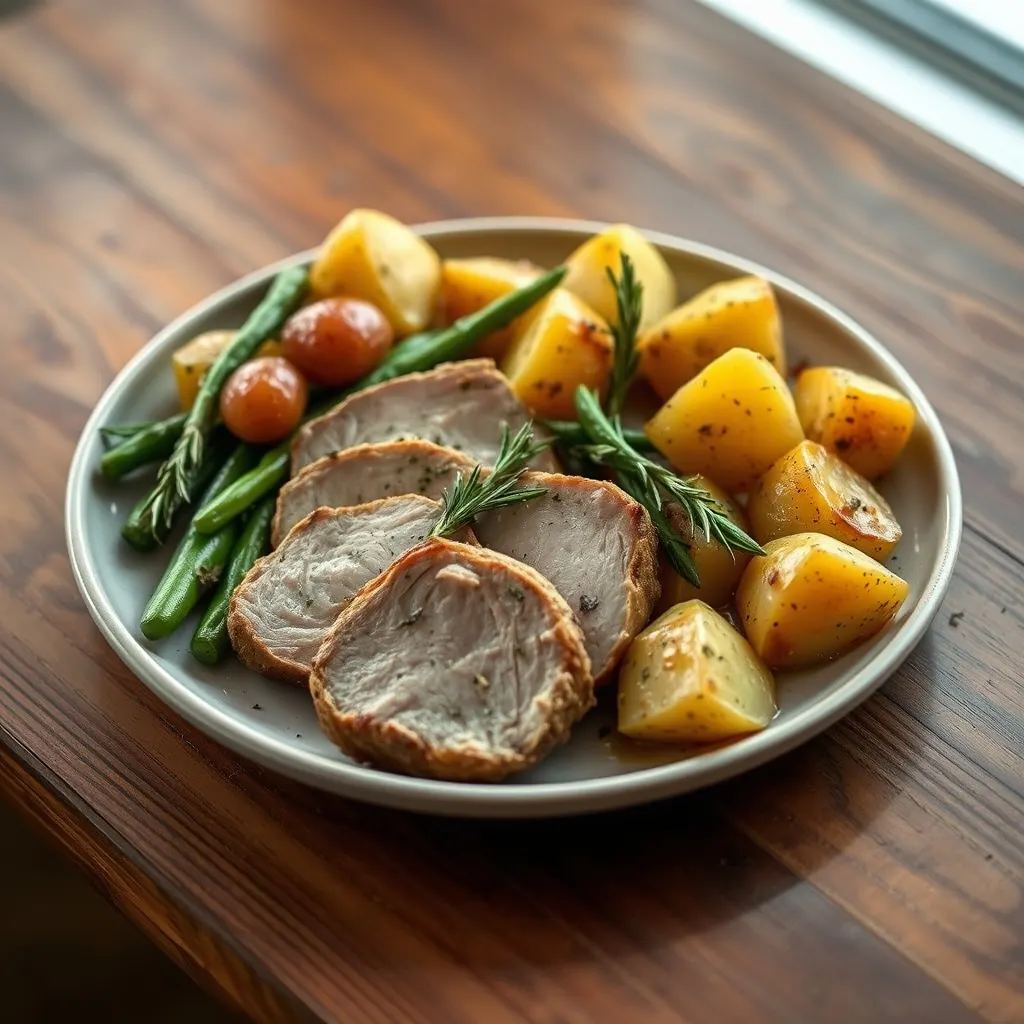
Herb-roasted pork loin with potatoes and green beans
90 min580 kcal
Herb-roasted pork loin with potatoes and green beans
Half the roasting oil, fewer potatoes and twice the green beans, so the plate fills up with vegetable rather than starch.
Herb-Roasted Pork Loin with Potatoes and Green Beans
A mustard and rosemary crust on a pork loin roasted over potatoes, so they cook in the fat and the juices. A proper Sunday dinner.
Estimated per serving. These are approximations, not measured values, and should not be relied on for medical or dietary decisions.
Illustration generated from this recipe — not a photograph of the finished dish.
Ingredients
- ·5/6 lb pork loin
- ·1/2 lb baby potatoes, halved
- ·4 oz green beans, trimmed
- ·2/3 tbsp rosemary, fresh, chopped
- ·1/3 tbsp thyme, fresh leaves
- ·2 garlic cloves, minced
- ·1 tbsp olive oil
- ·2/3 tbsp dijon mustard
- ·1/3 tbsp lemon juice
- ·salt, to taste
- ·black pepper, to taste
Method
- 1Take the pork out of the fridge an hour before cooking, so it roasts evenly instead of staying cold in the middle.
- 2Heat the oven to 425F and mix the mustard, garlic, rosemary, thyme, most of the oil, salt and pepper into a paste.
- 3Pat the pork dry and rub the paste all over it, pressing it into the surface so it sets into a crust.
- 4Toss the potatoes with the remaining oil and salt and spread them in a roasting tin, then sit the pork on top of them.
- 5Roast for fifteen minutes at high heat to colour the crust, then drop the oven to 350F.
- 6Continue roasting until the thickest part of the loin reads 145F, about forty-five minutes, stirring the potatoes once.
- 7Rest the pork under loose foil for fifteen minutes while the potatoes crisp in the oven and the beans boil in salted water.
- 8Toss the drained beans with the lemon juice and the resting juices from the tin, and carve the pork across the grain.
Adapted from The English Kitchen, Natasha's Kitchen.
Grocery list
Tick the meals you plan to cook and their ingredients will collect here.